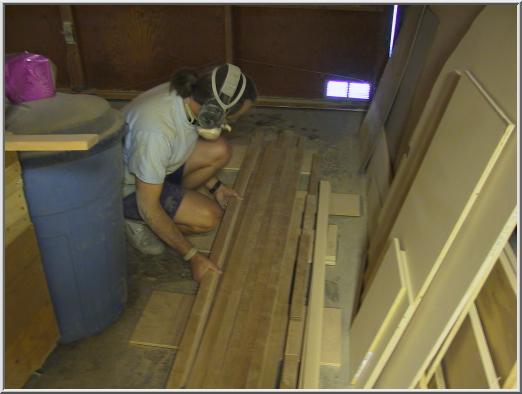
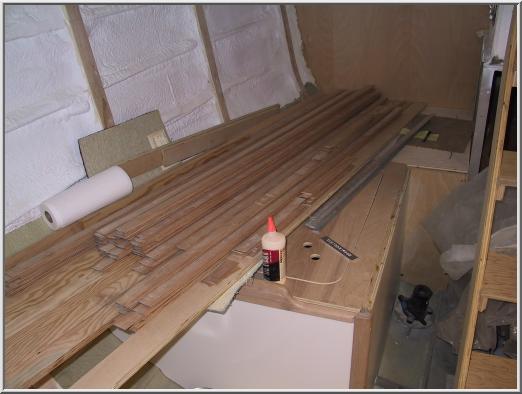
- I start with 25/32" (standard 4/4) thick planks planed on three sides
by the mill. Cut these into 1 1/4" wide strips with a table saw. I usually cut
10- 20% more strips than I need to account for mistakes in the later
steps. Make the strips slightly longer than needed to account for any snipe in
the planing phase. For hardwoods, don't pause while cutting the strips to avoid
burn marks and make sure your blade is square to the table and your fence is
straight.
- For 25/32" thick planks, I have tried to get 4 strips out of a plank
but the strips end up slightly less than 1/8" thick once sanded. This is too
thin so I suggest cutting only 3 strips for this thickness. I use my band-saw
with a 4 TPI 3/4" wide blade. The blade has a kerf of 1/32". I use carbide
blades (bluish discoloration) and have not had good luck with the shiny steel
ones. It is important to have a good blade so that you will not have to switch
blades mid-batch (switching blades involves disrupting the fence position).
- Start by dividing the thickness of the strips into thirds. I cut a
strip off of each side of the plank with a band-saw. This way two-thirds of the
strips already have a guaranteed planed surface. Because of this, the fence can
be set such that the outer two strips can be slightly thinner than the center
strip since that one will be planed more. Use a wide feather-board (the same
width as the strip) to keep a steady pressure on the fence. A helper is useful
here to guide the strips once they pass the blade, they are thin and need to be
held steady to ensure straight cuts.

- Plane the strips to the same thickness. For hardwoods, make sure your
planer blades are sharp otherwise it will rip out chunks from the surface of
the wood. The nice thing about strips is that with a helper receiving and
stacking the strips as they come out of the planer, you can chain them all
together to avoid snipe. I use a couple shorter strips to end the batch with.
There is no need to plane both sides however I often do to guarantee consistent
thickness of all strips and more surface area for the glue to hold onto when
mounting the strips.
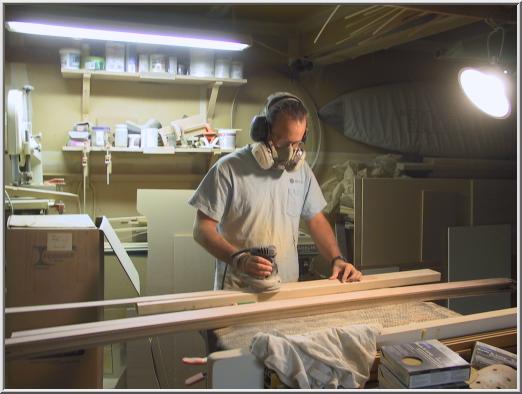
- Choose a face-up side for each strip and sand using a random orbital
sander. Sand through your grit sequence (80-120-150-220) to the final grit.
This is the only sanding the strips will get. Be careful not to press hard in
one area, that will create a low spot in the strip.
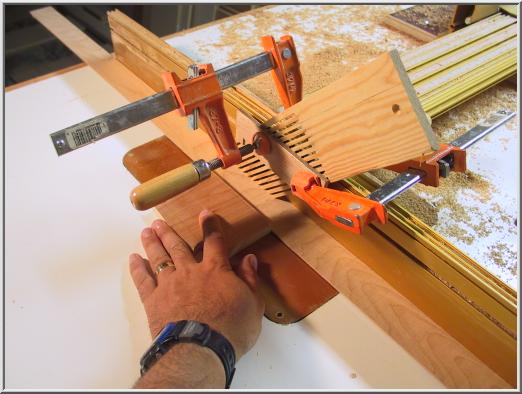
- Next put the decorative bead on the strips at the router table. Use a
wide feather-board to get consistent pressure. I use an 1/8" beading bit from
Eagle America. Make sure the bit is high enough so that when the neighboring
strip overlaps it the valleys can be made symmetric. This can be adjusted
somewhat in Step 8 (at table saw) but you need enough here to get an overlap. A
helper is very useful here to keep the strip moving past the bit to avoid
burning. Be sure to keep a steady downward pressure to keep the bead at the
same distance from the edge. I use a board on top to keep a steady downward
pressure without getting slivers.

- Now lower the router bit and run the other edge through, this rounds
off the opposite edge. Since the radius of the bit is so small this is one of
those details that no one will notice unless you don't do it. Again, use a wide
feather-board to get a consistent down-ward pressure against the bit. The
side-ways pressure is provided by hand, often I used a block to press against
to avoid slivers.
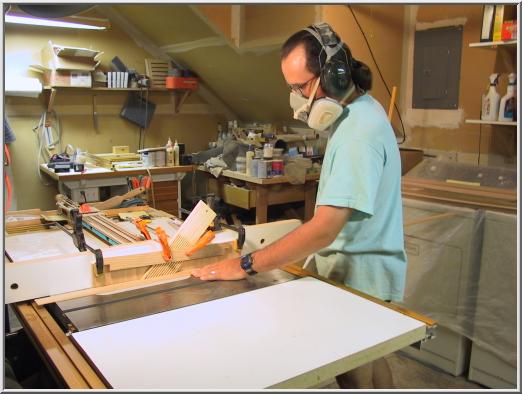
- At the table saw, cut the final rabbet. Use a narrow feather-board to
get consistent pressure and still allow you to push the strip past the
blade. The width of the rabbet can be determined by trial and error to get the
right overlap with the neighboring strip. The depth of the rabbet should be
such that all strips sit flush on the surface when overlapped. There should be
a minimal gap between the strips.
- Cut the strips to length, I do this with a small hand powered miter box
inside the boat. Each strip is made to order for the particular
situation. After cutting the strips to length I use a piece of sandpaper to get
rid of any slivers at the end of the strip.
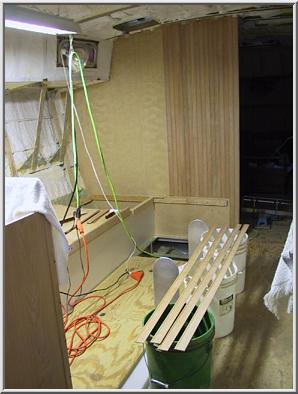
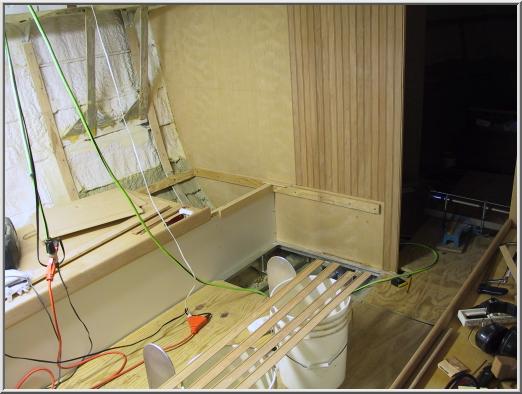
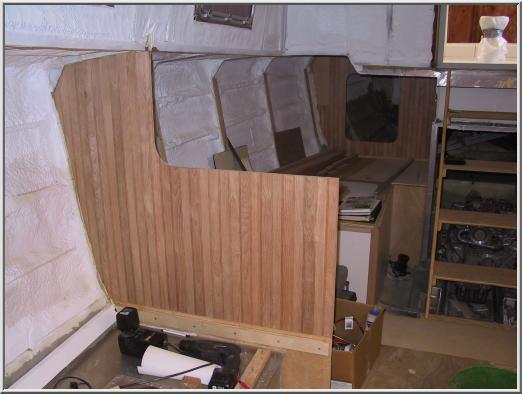
- We are now ready to glue the strips in place. Make sure the boat is
level first. The boat can be leveled easily if on jack stands using a water
level. Draw vertical lines on the bulkhead you want to cover using a level.
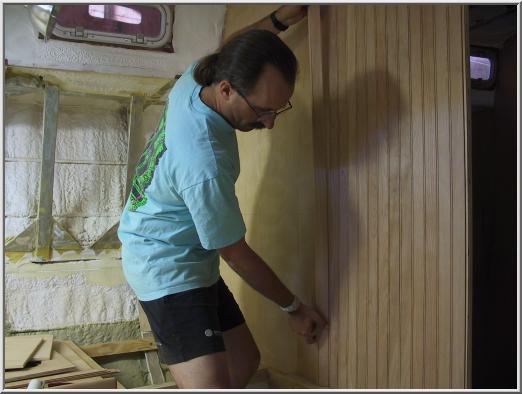
- Glue the strips to the bulkheads using contact cement. I use a
water-based contact cement because it is easy to clean up mistakes (dries
white) and is thin (not viscous) when brushed on. Be careful when applying the
glue to cover the width of the strip but not to be sloppy. Contact cement is
gloppy to use when cold, make sure the use at well above the minimum
temperature. I use a technique where I overlap the strips and make sure they
are pressed firmly together at the joint before the strip touches the contact
cement. Use a 3" J-roller to press the strips onto the bulkhead.
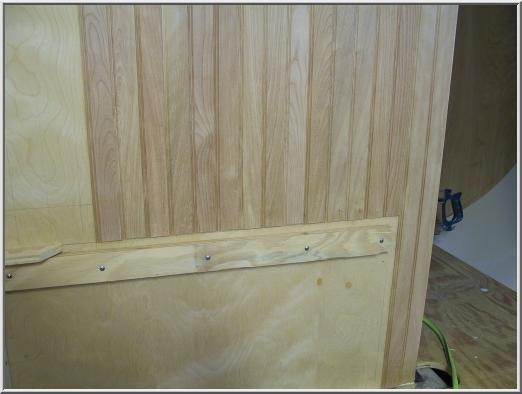
I do four strips at one gluing, this works out well with the 20-30 minute
dry time of the contact cement. I paint the cement on the bulkhead first (draw
a line four strips wide to know where to stop painting the glue) then on the
back of the strips. Since it is a boat, the strips are not the same length and
so the order has to be carefully observed.
- Finishing is a challenge due to the detail in the bead area. For the
first coat I use paper towel to wipe on an oil-base satin varnish. Oil based
varnishes lend a golden color to wood, water based varnishes are just as good
but usually dry clear and do not add their own color. Pay attention to to
getting varnish in the grooves without glopping. After the first coat is dry,
sand with 350-400 sand paper. I use an HVLP sprayer to spray on several more
coats of varnish, sanding between each.
- A razor blade can be drilled and ground to make a scraper with the
profile of the bead detail. This will speed up the preparation between coats of
varnish. This is difficult and is for extra credit only. The beads will be
darker than surrounding wood due to the grain change of the wood anyway and so
this step can often be skipped. A folded piece of sandpaper is often the only
inter-coat prep this area needs.
|